

Our wedding invitations were a project-and-a-half! There were many trials and errors but I am absolutely in love with the final product!
Initially I had it in mind that I would make every part myself, but upon trialing a few ideas I realized it was both more time and cost effective to purchase the pre-made “shell” of my invitations through Cards and Pockets. Going this route also allowed me to purchase matching envelopes, also for a competitive price to anything I would have purchased from a craft store. I ordered several samples before settling on ‘Sand’ colour for my invitations.

I printed all of the documents for the middle and side pocket on white cardstock paper (templates below).
I cut all of the information using my paper trimmer which is such a time saver, especially compared to using regular scissors!
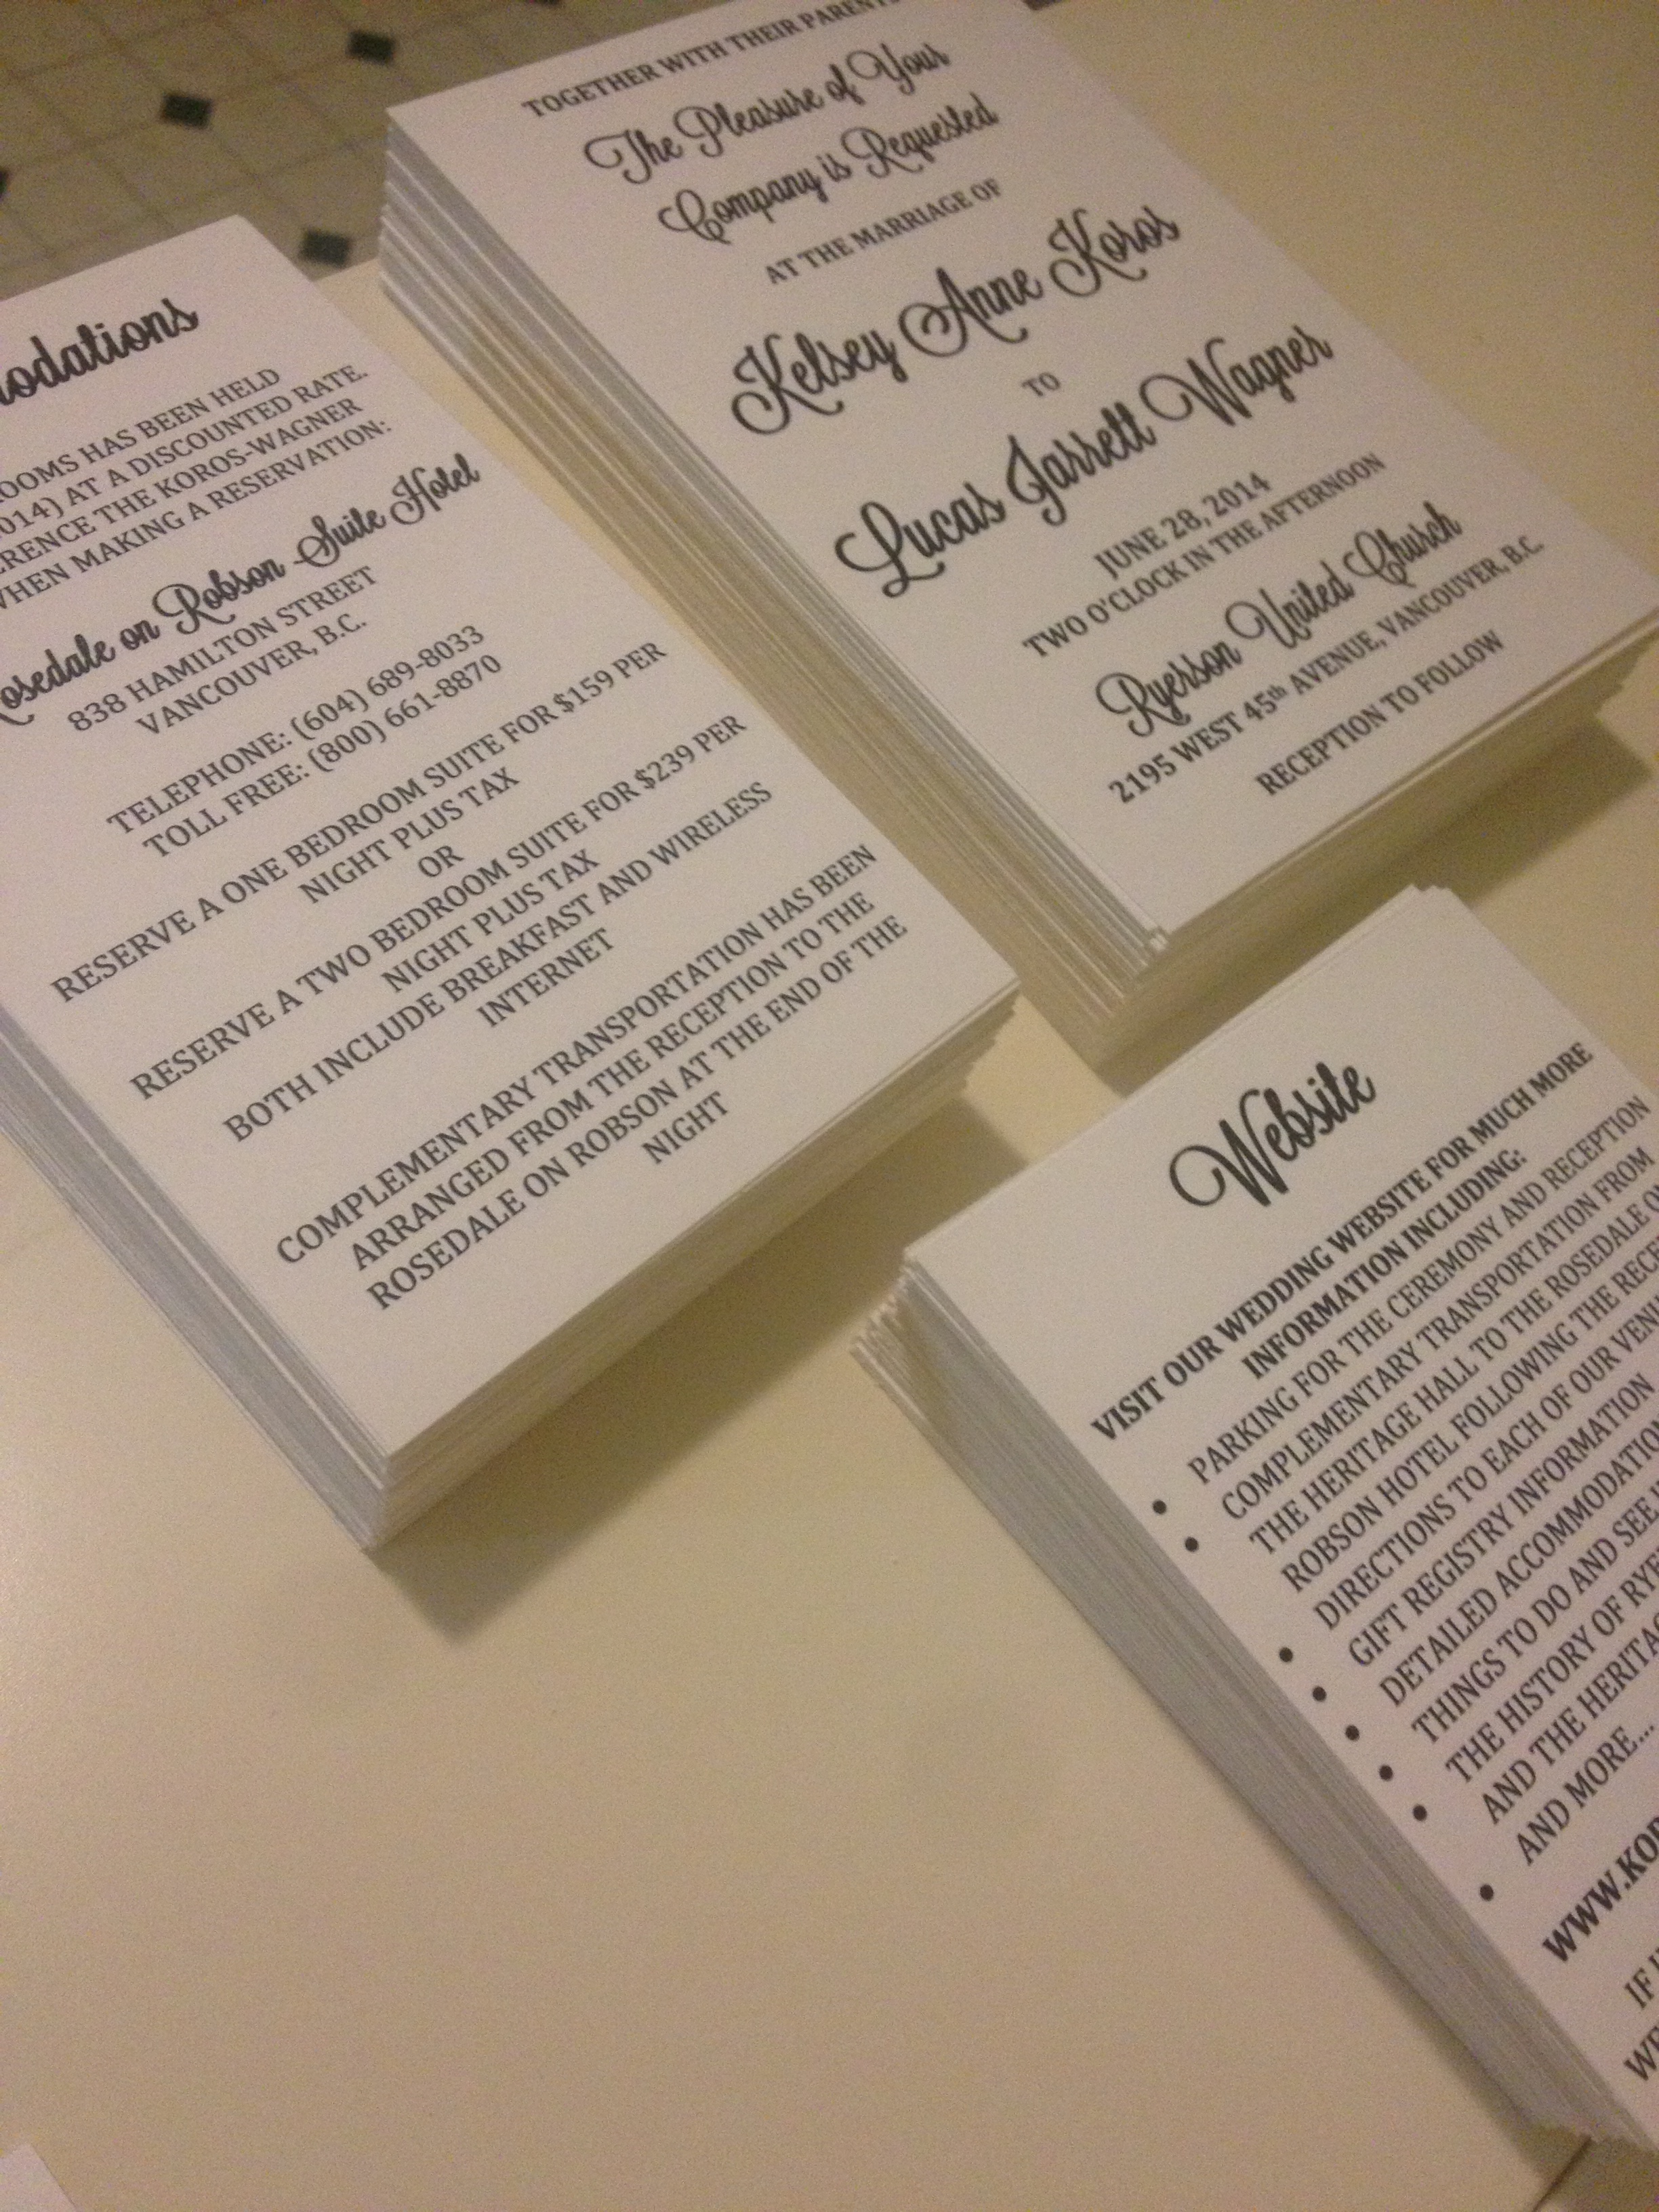
I cut the centre information a few centimetres smaller and a piece of navy blue cardstock a few centimetres bigger, allowing for it to show from behind for the middle fold. I attached these pieces together using double-sided-tape and then double-sided-taped that to the “shell.”

For each response card we changed the names to who we were sending the invitation to. We found by being specific, it avoided people being confused about whether they could bring a date, their children etc. which I heard frequently causes guests confusion.
We tucked the different information into the right pocket and closed the invitations.
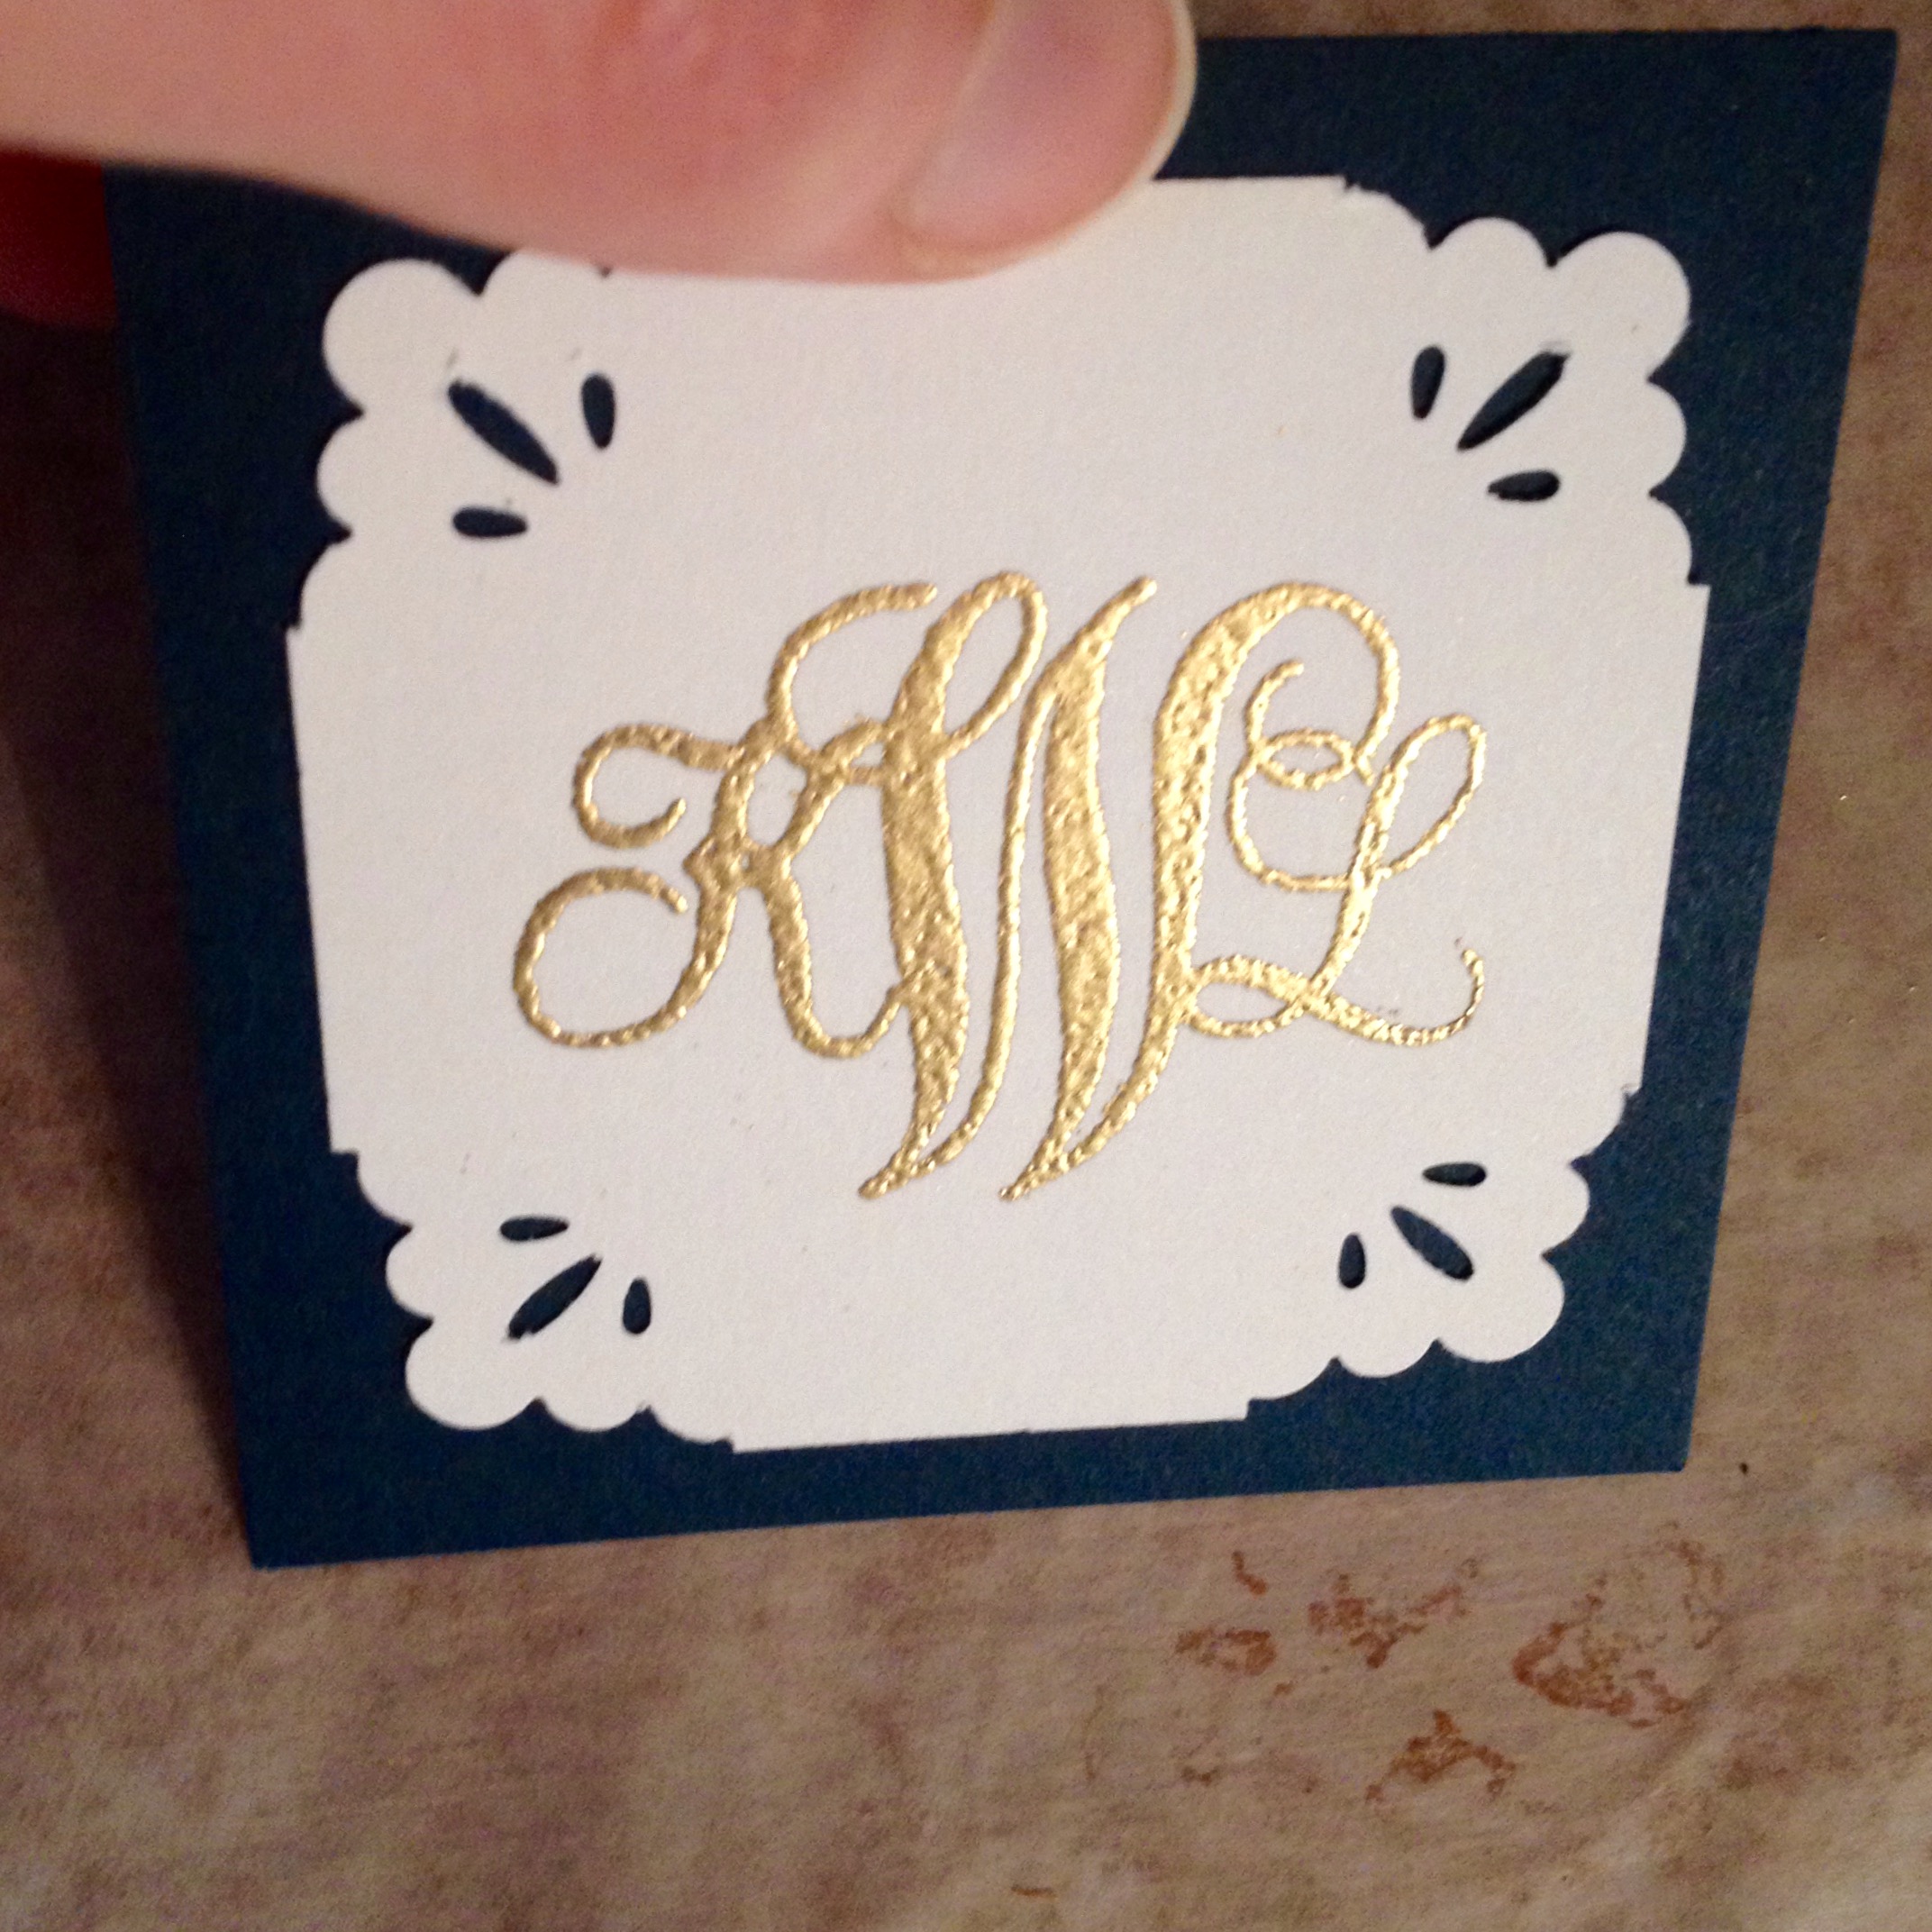
For the front of the cards we punched out two different squares using Fiskars punches (purchased from Jo-ann Craft Store).

Using Fiskars corner punchers I added detail to the white square.

Using double-sided-tape I attached the white card to the blue card.


I added an embossed stamp to the front using a stamp I custom ordered here. At only $10, it was well worth ordering.
To learn how to emboss, read my post here.
Once I was done embossing, I cut ribbon to wrap around the outside of the invitation.

Attach the ribbon to the back of the square using a small amount of hot glue. This will create a loop with the ribbon.

Slip this over the top of the invitation to hold the invitation closed.

Place in the envelope. Once in the envelope, we chose to seal ours with a wax seal. To learn how to make a wax seal, read my post here.


They turned out great and we absolutely loved them! We used Avery Address and Return Address Labels to print labels for each invitation.
Invitation Templates:
Invitation- Directions to Ceremony (Print directions to Ceremony first, then on the reverse side of the page print the Directions to Reception card below)
Card Invitation- Directions to Reception Card
Invitation- Accommodation Cards
For most people we included a funnier Response card but were concerned it may be confusing for some of our older guests or guests that don’t speak great english, so did a more basic one for some people.
In our response cards we also asked people to request a song that would get them dancing. We compiled a list in advance for our DJ so no requests were made the evening of the wedding (sometimes people request songs that are not actually danceable and the DJ feels pressured to play it. If we felt it wasn’t a danceable song, we played it earlier in the evening during dinner, or while people were visiting).
Invitation- Response Card Bell

[…] how wax seals look and wanted to include them on my invitations (see how I made my invitations here). I had a look online and found these great wax sealing sticks that fit into a hot glue gun. I […]
LikeLike